Cabinet Doors 'N' More is an all-in-one online retailer with many years of experience serving families and contractors with replacement parts for cabinets and drawers. Our wide variety of products like door hinges, undermount drawer glides and replacement cabinet shelving come in unique designs and materials to match the interior décor of your home or business as well as any preexisting cabinetry.
If you'd like to reface your cabinetry in the break room, kitchen, laundry room or garage, we can provide five-star veneers and end panels to help you give your DIY project a facelift.
Regardless of the type of project you want to complete, Cabinet Doors ‘N’ More has made-to-order products ready to match the current theme of your home or introduce a new look for your company.
Frequently Asked Questions
What types of cabinet accessories does Cabinet Doors 'N' More offer?
We offer a comprehensive range of cabinet accessories to complete your DIY project, including cabinet door hinges, undermount drawer glides, cabinet shelving, veneer sheets, 3D laminate and cabinet end panels. Each accessory is carefully selected to work seamlessly with our cabinet doors and drawer fronts. All accessories ship with free shipping and are backed by our quality commitment.
How do I know which cabinet hinges are right for my project?
Choosing the right hinges depends on your cabinet door style and overlay preference. We offer hinges for framed cabinets with various overlay options, including cabinet door hinges with soft-close options for smooth, quiet operation. If you're unsure which hinges you need, our team is available at 844-915-1150 to help you select the perfect match for your cabinet doors.
Can I install undermount drawer glides myself, or do I need a professional?
We sell undermount drawer glides designed for DIY installation with basic tools and careful measurements. Each set includes installation instructions to guide you through the process. The glides feature smooth ball-bearing operation and are compatible with most standard drawer boxes. For best results, measure your existing drawer slides before ordering to ensure proper fit. Visit our how to order page for measurement tips.
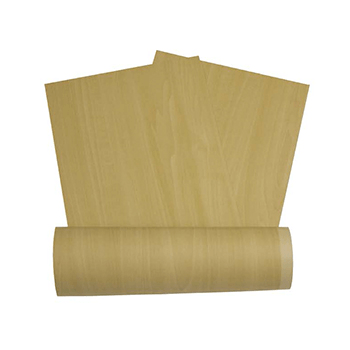
What's the difference between veneer and 3D laminate for cabinet refacing?
Veneer provides a real wood surface that can be stained or finished to match your existing cabinets, offering authentic wood grain patterns and texture. 3D laminate features a durable, prefinished surface that resists moisture and scratches, making it ideal for high-use areas. Both options allow you to reface your cabinets without replacing the entire cabinet box, saving time and money on your renovation.
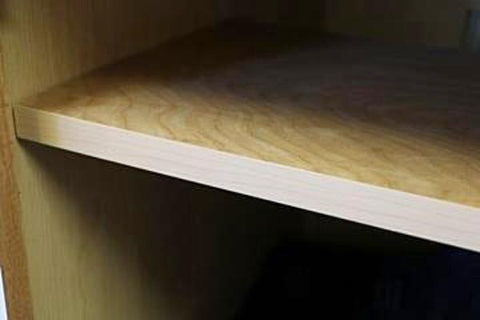
Are cabinet shelving and end panels available in custom sizes?
Cabinet shelving is offered for framed kitchen base and wall cabinets in standard sizes. Cabinet end panels are also offered in standard sizes. For other types of accessories, please contact us at 844-915-1150 to discuss your project needs so our team can help you find the right solution for your cabinet project.