
HOW TO PAINT LAMINATE KITCHEN CABINETS
If you're looking to update your kitchen cabinets in an affordable, fun way, painting them yourself is a great option. Do-it-Yourself (DIY) projects are a fun and rewarding way to save money on home remodels. These projects can help you learn a lot of new skills and embrace your inner creative genius.
Even some of the most straightforward DIY projects have challenges. For example, painting laminate kitchen cabinets requires a lot of patience and the right materials. Laminate takes a bit of knowledge to work with, and it requires some special attention for the project to be successful.
If you're planning to paint the laminate cabinets in your kitchen, read on for step-by-step directions for accomplishing the project without any hitches.
WHAT IS LAMINATE?
Laminate is different from traditional wood and is a common material for cabinets and other furniture. Laminate is a form of synthetic wood. It is made up of synthetic materials layered together and covered with a layer of printed material designed to look like wood. The top layer attaches to a medium-density fiber (MDF) or high-density fiber (HDF) made up of synthetic materials. The laminate cabinet is created when the front, core and back pieces attach together.

HOW IS LAMINATE DIFFERENT?
While some cabinets use a staining process, laminate gives you the option to paint your laminate cabinets virtually any color you like. If you need help deciding colors for your laminate kitchen cabinets, know that any color is an option.
Neutral colors will never go out of style, white is a common choice for contemporary styles, and bright colors like red, yellow, and blue are great options to make a statement. Brown cabinets are another great option, as they create a warm and inviting atmosphere for your kitchen.
You need to take some extra steps when painting your laminate cabinets for the paint to stick to its shiny finish. A special laminate primer is necessary, as well as oil- or latex-based paint. Oil and latex paints will stick to the laminate cabinets better than acrylic-based paint.
HELPFUL TOOLS AND MATERIALS
Before you begin, takean inventory of the materials you'll need to complete the project. If you're a regular DIY-er, you likely already have many of these materials lying around the house.But, if you're low on supplies or a beginner, here's a helpful list you can take to the store to make shopping easier:
- Dust rags and cleaning cloths
- Painter's tape or masking tape
- An angled paintbrush
- A mini foam roller
- Paint trays
- A facemask
- 150- to 180-grit sandpaper
- Laminate cleaner
- Trisodium phosphate
- Laminate primer
- Laminate paint
- Paint can opener or flathead screwdriver
- A screwdriver or drill for removing door hardware
- A fan
- A Shop-Vac or other vacuum
- Paint stirrers
- Trash bags
- A large cloth to cover kitchen surfaces
- Rubber cleaning gloves, preferably more than one pair
- Marker or pen
- Snack bags or small containers
THE STEPS TO SUCCESS
Once you've collected all the items needed for your project, set aside some time to begin preparations. Here are the steps you'll need to follow:
PREPARE THE SPACE AND CABINETS
Preparation is just asnecessary as the actual process of painting your laminate cabinets. To ensure a flawless paint job, follow these prepping steps:
- Empty your cabinets.
-
Remove hardware — including handles, knobs, and pulls — and place them in snack bags or in a small containerwith labels where each belongs.
- Remove cabinet doors and drawers, being careful to label where each goes.
- Repair any damaged cabinets.
-
Cleancabinet surfacesthoroughlywith a cloth and laminate cleaner. You may want to purchase trisodium phosphate (TSP) to clean your cabinets. This solution will gently wipe away grease, grime, dirt and mold from your cabinets, and it easily washes away with water. Cleaning your cabinets willhelp the primer adhere to the doorsand not to dust or residue. You may want to use rubber gloves while cleaningto protect your skin.
-
Tape off anyareas you don'twant to be painted with painter's or masking tape, such as hinges, and along any walls that make contact with the edges of your cabinets.This step might not be necessary if you removed your cabinets from the walls.
-
Cover kitchen surfaces, such as floors and countertops, with adrop cloth for easy cleanup.
-
Open a window or run a fan for ventilation as you begin painting. Consider painting outside if you removed the doors.
PRE-PRIME SANDING
Laminate cabinets have a slick surface. Lightly sanding your laminate cabinets with fine sandpaper, such as 180-grit sandpaper, will create a rough surface that will help the primer adhere easier. Because the top layer of laminate cabinets is so thin, you need to take care to lightly and gently sand them.
Also,make sure you don't sand in the same place for long. Doing so may result in thin spots on your cabinets. You want to sand the cabinets just long enough to create some dust and a slight texture on the surface. Wear a face or dust mask during this process. When you're done, vacuum up excess dust, and wipe the door surfaces with your cleaning cloths.
PRIME THE CLEAN, LIGHTLY SANDED CABINETS
Because laminate cabinets are often finishedwith glossysurfaces, paint tends to slip off the material.Therefore, laminate cabinets need a special primer that is formulated especially to adhere to their surface. If you don't prime your cabinets with the special primer, it's almost guaranteed that the paint won't stick to the laminate.
After lightly sanding your cabinets, prime your cabinet doors and drawer fronts with a laminate primer before painting to create a surface the paint can adhere to. This primer is typically found at any home improvement store or online. To prime your cabinet doors, make sure your room is well-ventilated, and follow these steps:
- Pour some primer onto a paint tray, and begin by priming the edges of the cabinet doors and drawer fronts with an angled paintbrush.
- Prime the larger sections of the cabinet doors and drawer fronts with a mini foam paint roller. Make sure that you apply an even coat.
-
Keep your cabinet doors ajar after priming to help speed the drying process.If the cabinet surface still feels slick after a coat of primer, you may want to consider a second coat.Primer creates a rough surface that allows paint to stick better to cabinets.
It's advised that you let the primer cure overnight before starting the next step for the best results.

GENTLY SAND THE PRIMED CABINETS
Once your primer is completely dry, gently sand the primed surface. This step helps create a smooth base, free of fine paint lines and air bubbles. It also gives your cabinet doors a subtle texture, whichhelps the paint adhere to the surface. Follow these steps to sand your kitchen cabinets:
-
Usefine-grit sandpapertobegin sanding the surface of the cabinet doors and drawer fronts lightly by hand —this is especially important, as you don't want to strip the primer off the cabinets.Take care not to sand too much in one place. You can use the same sandpaper you used for the pre-prime sanding.
-
Dustoff the cabinet doors and drawer fronts with a dry brushas you go.It's advised that you wear a facemask while sanding and dusting tobest protect your lungs.
-
Have a Shop-Vac or other industrial vacuum powered onto clean near where you sand as you work. Using a vacuum will reduce the amount of dust around your workspace and keep it out of your face, too.
-
Wipe down the sanded surface with a damp cloth or a tack cloth, making sure to remove all residueafter dusting.
START PAINTING
Just like the primer, take note of what paint you purchase for your cabinets. Make sure youare buying laminate paint, as it is specially blended for laminated materials.You also want to make sure the paint you choose is compatible with your primer. If your cabinets have dings or scratches, consider opting for a satin finish over a glossy finish, assatinfinishes tend tohidethe damaged areasbetter than glossy ones. As always, before painting, make sure your room is well-ventilated. Then,follow these steps:
-
Start by removing or replacing any painter's tape after priming.
-
Openyour paint cancarefullyon a covered surface, and give the paint a good stir to blend the color.If you're having trouble opening your cans, wedging a flathead screwdriver under the can's lip and slowly pushing the lid up should help.
-
Pour about half of the can into your paint tray, and begin painting the details of your cabinet doors and drawer fronts carefully — areas around the wall and along the edges of the cabinets.
-
Usea roller to paint the larger sections of your cabinet doors and drawer frontsonce all edges are painted.Be careful of drips in the paint, especially from rollers. Rollers can hold a lot of paint that could possibly drip out of the sides without you noticing. If drips do happen, use a paintbrush to smooth them out.
Let everything dry, and reapply the color if needed. Be prepared toapply multiple coats of paint to achieve your desired result.Allow the paint to completely dry between coats, which may take longer than you're typically used to due to the glossy surfaces of laminate cabinets. If possible, give the cabinets a week to dry fully before reattaching the hardware and reinstalling them in your kitchen if you detached your cabinets during painting.
SOME ADDITIONAL HELPFUL HINTS
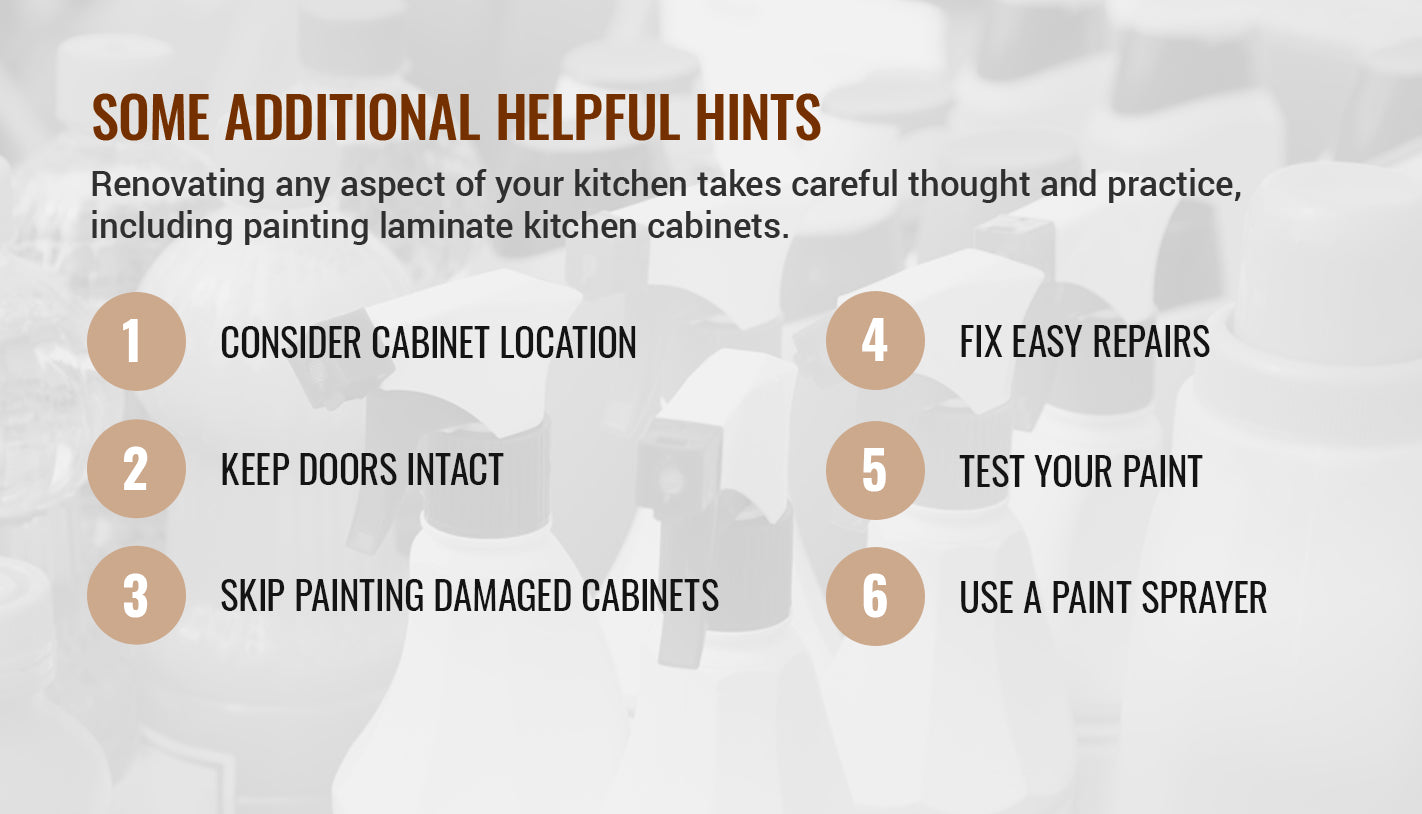
Renovating any aspect of your kitchen takes careful thought and practice, including painting laminate kitchen cabinets. In addition to the above practices, there are some other useful tips and tricks you can implement into your painting process:
-
Consider cabinet location:The kitchen cabinets are in a high-traffic location. You want to choose durable paint and topcoats that can handle constant use.
-
Keep doors intact:It's possible to paint your cabinets with them still attached. Whether or not you choose to detach your cabinet doors is up to you. If you choose to remove your doors, make sure you label each to save yourself time when you reattach them.
-
Skip painting damaged cabinets: Painting damaged laminate cabinets will often make the damage look worse. In this case, refacing or replacing your cabinets would be a better option.
-
Fix easy repairs: Your cabinets may have a few spots that need easy repairs. In the case of peeling cabinets, wood glue and clamps or weight can reattach the laminate to the cabinet core. Repairing your cabinets is best to do before the painting process begins.
-
Test your paint:When unsure about your paint choice, test it in a place you can't normally see, such as the back of a door. Paint a small area, let it cure and check the paint. If the paint doesn't peel or bubble, you should be good to go with it! Your best bet is to consult your local paint supplier or home improvement store for other options if it does.
-
Use a paint sprayer:Using a paint sprayer can help eliminate paint strokes and may also save you time. There are many airbrushes to choose from, and your local paint expert can likely point you in the right direction. Even for a small kitchen, manually painting your cabinets can take a lot of time because of all the needed coats of different paint. Using a paint sprayer can significantly cut down your paint time.
Once your project is finished and your cabinet doors and drawer fronts are completely dry, reattach your cabinet hardware, install your cabinet doors and drawers, and enjoy your freshly painted cabinets!
FIND YOUR CABINET REPLACEMENTS AT CABINET DOORS 'N' MORE
For new, replacement cabinet doors, drawer fronts, drawer boxes, and all of your cabinet remodeling needs, turn to the leader in the online kitchen cabinetry industry — Cabinet Doors 'N' More. You can order as little as one cabinet door front for a quick repair or a multitude of cabinet components for a large-scale project. Whatever you need, we have the custom, high-quality replacement cabinet components you can count on for your DIY project. Explore our extensive collection, and start our easy-to-use ordering process today!
Buy $750 or more in any combination ofcabinet doors, drawer fronts, drawer boxesor accessories and get10% off your entire order. Discount appliesat check out andcannot combine with other discounts.


